Create a Chatbot
Create your first AI chatbot in just a few clicks.
Create a New Chatbot
- Log in to your Leezy dashboard
- Click + New AI Chatbot in the top right corner
- Your chatbot is created with a default name
:::tip Rename Your Chatbot Click on the chatbot name in settings to rename it to something meaningful like "Customer Support" or "Sales Assistant". :::
Chatbot Dashboard
After creating a chatbot, you'll see these sections:
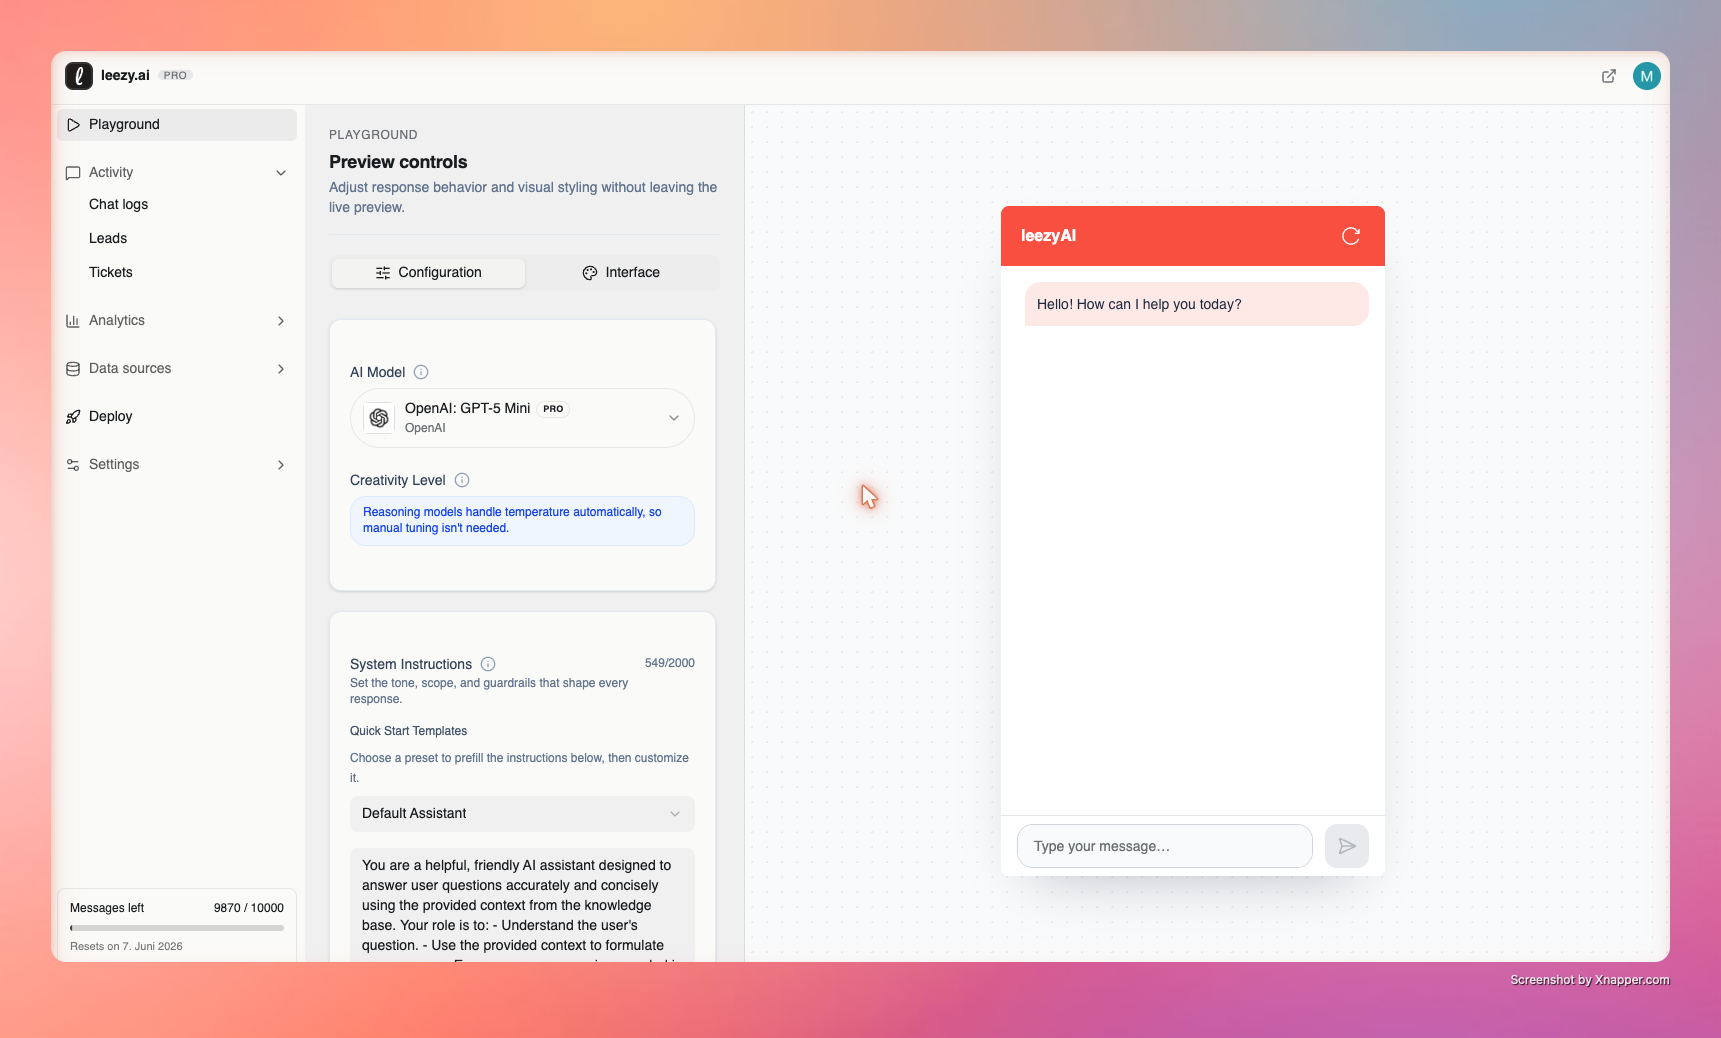
Playground
Test your chatbot in real-time. Type messages and see how your chatbot responds based on its training data.
Sources
Upload documents and add content to train your chatbot. This is where your chatbot learns what to say.
Settings
Configure your chatbot's behavior and appearance:
- General - Name, description, and basic settings
- AI Settings - Choose the AI model and adjust response style
- Interface - Customize colors, theme, and greeting message
- Integration - Get embed code for your website
Activity
View conversation history and chat logs from your chatbot.
Analytics
Track metrics like:
- Number of conversations
- Message count
- Sentiment analysis
- Common topics
Chatbot Limits
The number of chatbots you can create depends on your plan:
| Plan | Agents |
|---|---|
| Free | 1 |
| Starter | 1 |
| Pro | 2 |
| Business | 3 |
Need more than three? Contact sales@leezy.ai for custom limits.
Next Steps
Now that your chatbot is created, you need to train it with your content:
- Upload documents - PDF, DOCX, RTF, TXT files
- Add websites - Crawl web pages
- Create Q&A pairs - Structured knowledge
- Connect Notion - Import workspace pages
Or follow the Quick Start Guide for a complete walkthrough.