Quick Start Guide
Get your chatbot live on your website in 5 minutes.
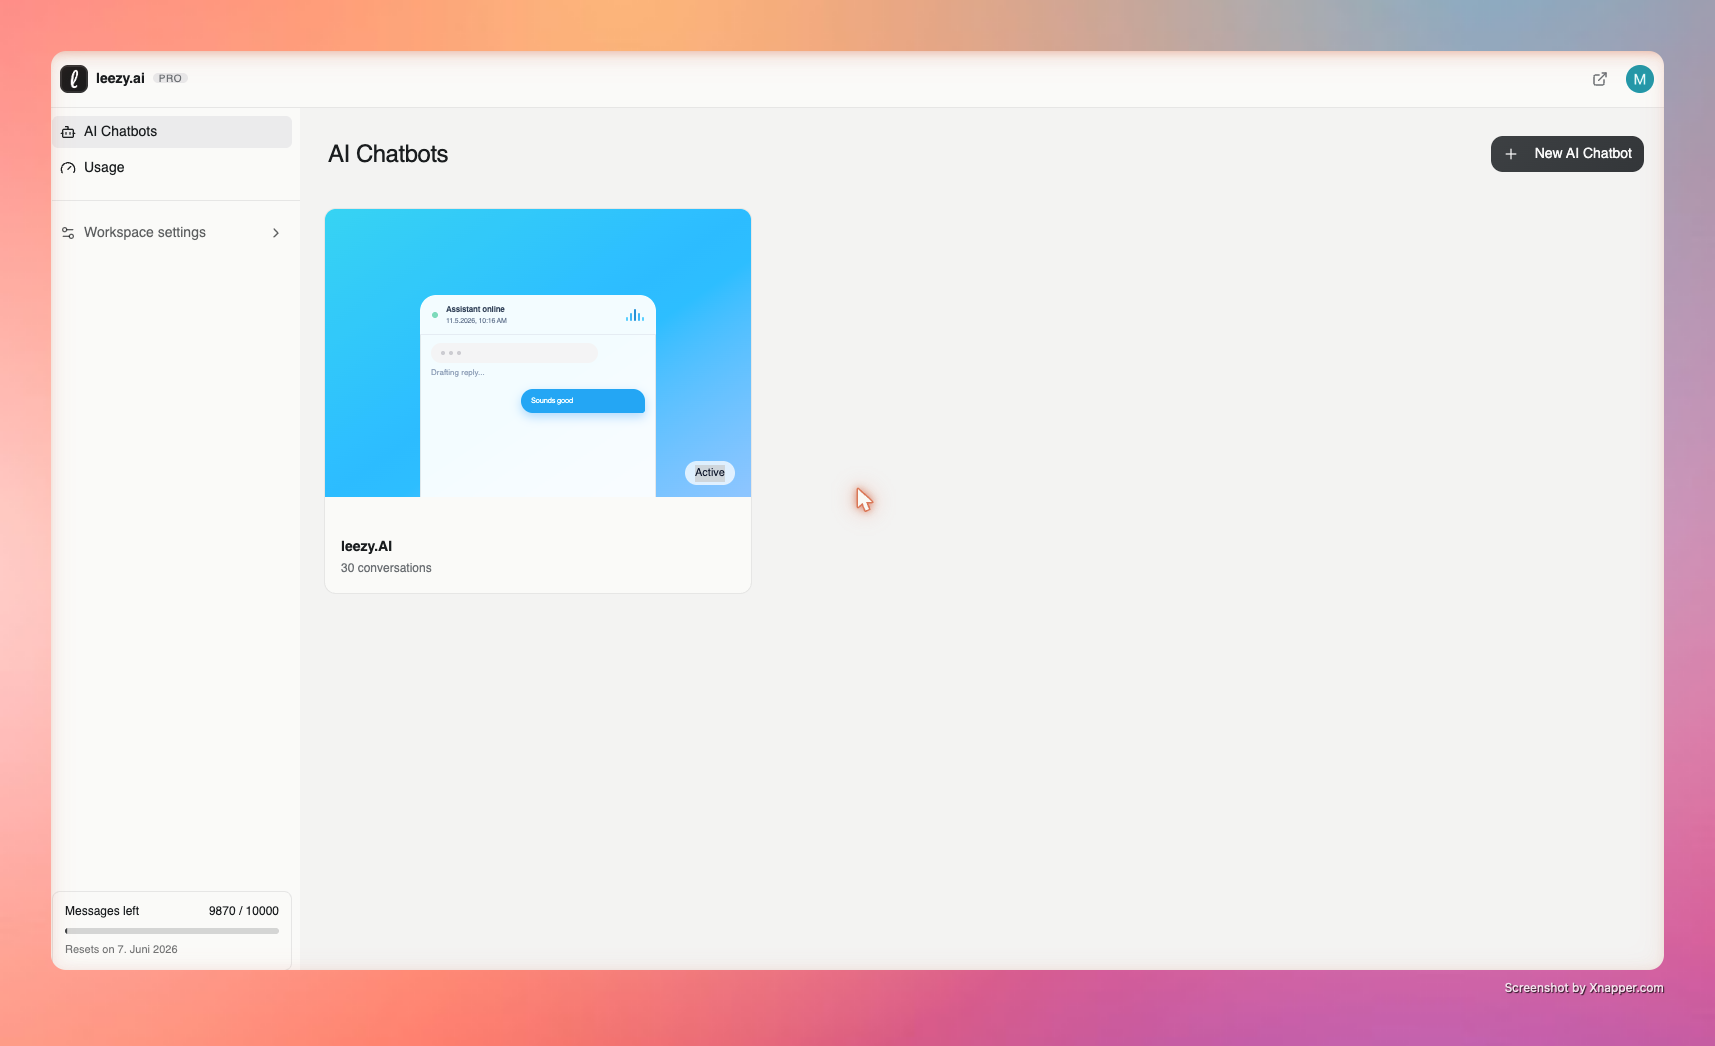
Step 1: Create Your Chatbot
- Sign in to leezy.ai/dashboard
- Click + New AI Chatbot
- Go to Settings > General and give it a name
Step 2: Add Training Data
Navigate to Sources and add content:
Option A: Upload a Document
- Click Add Source
- Select Document
- Upload a PDF or text file
- Wait for processing to complete
Option B: Add a Website
- Click Add Source
- Select Website
- Enter the URL to crawl
- Click Add
Option C: Add Q&A Pairs
- Click Add Source
- Select Q&A
- Enter a question and answer
- Click Save
:::tip Start Simple Begin with one or two documents. You can always add more content later. :::
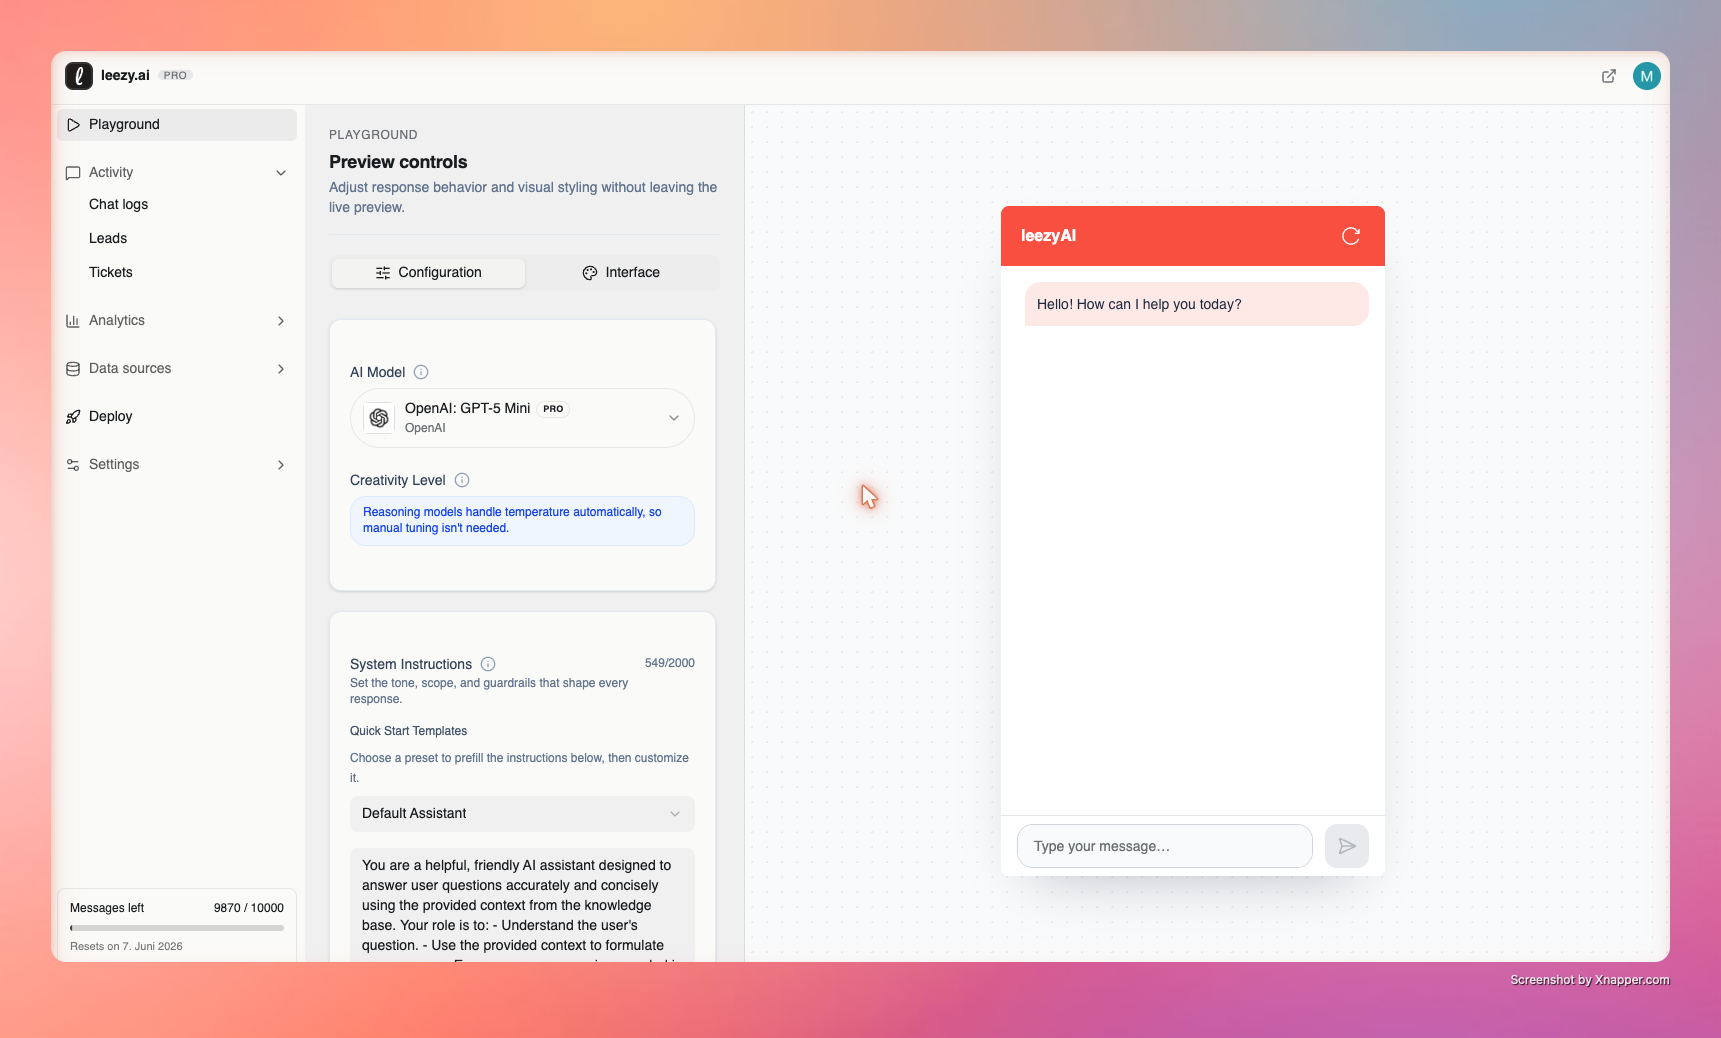
Step 3: Test Your Chatbot
- Go to the Playground tab
- Type a question related to your training content
- Verify the chatbot responds accurately
:::info Playground Mode Testing in the playground doesn't count against your message quota. :::
Step 4: Customize Appearance
- Go to Settings > Interface
- Choose a theme (Light, Dark, or System)
- Set a custom greeting message
- Pick your brand color
- Click Save
Step 5: Embed on Your Website
- Go to Settings > Integration
- Copy the embed code:
<script src="https://leezy.ai/embed.js?chatbot_id=YOUR_CHATBOT_ID"></script>
- Paste it before the
</body>tag on your website - Your chatbot widget will appear in the bottom-right corner
You're Live!
Your AI chatbot is now live on your website. Here's what happens next:
- Conversations appear in the Activity tab
- Analytics track usage and sentiment
- AI Actions can qualify leads automatically
Recommended Next Steps
- Configure AI Settings - Adjust response style
- Invite Team Members - Collaborate with your team
- View Analytics - Monitor performance
- Upgrade Your Plan - Get more messages and features